Designer: StringyDingDing
Instagram: @stringydingding
Etsy Store: StringyDingDing
Hello dear friends…
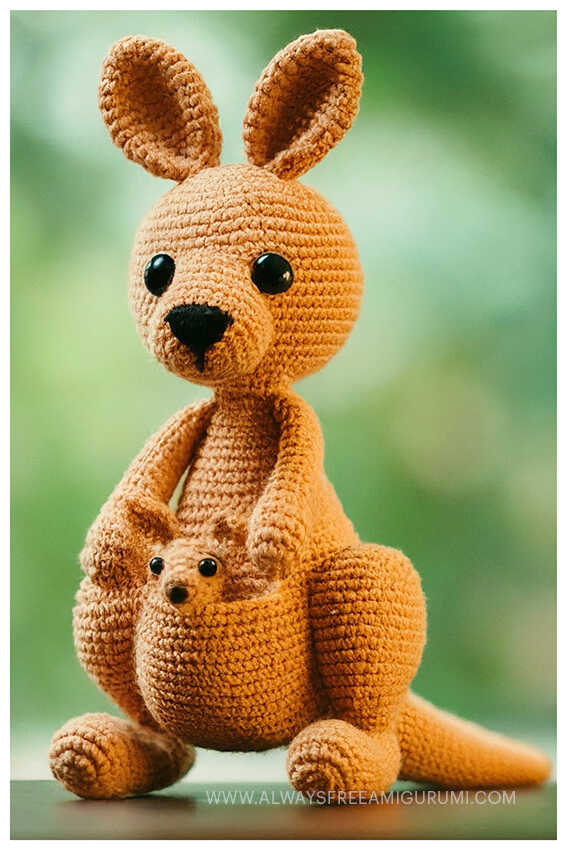
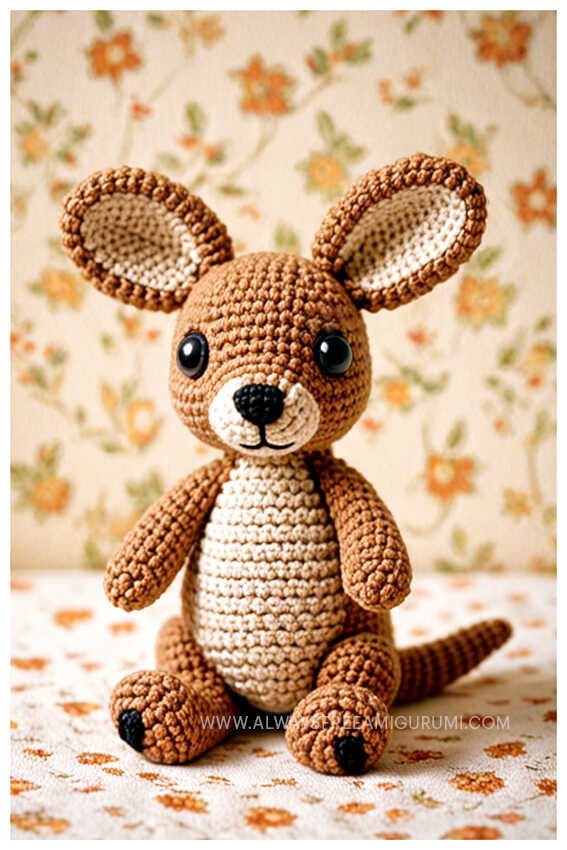
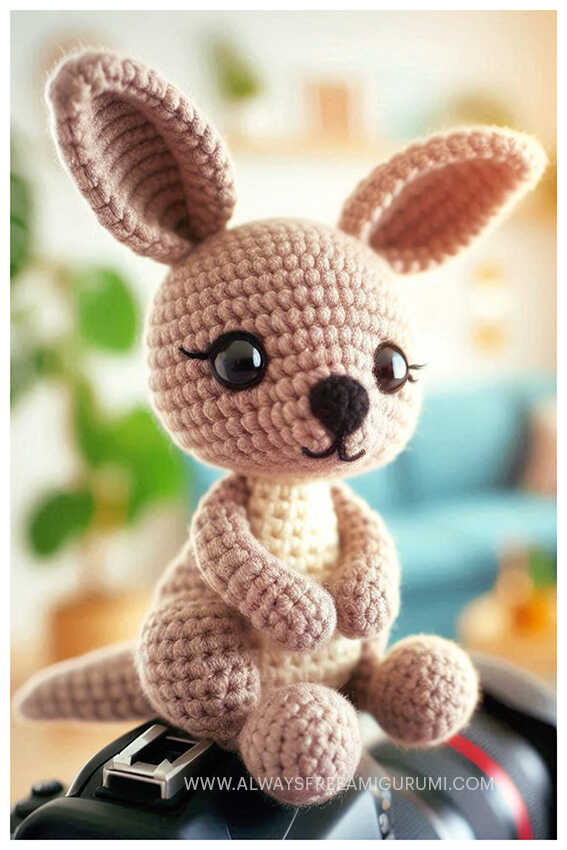
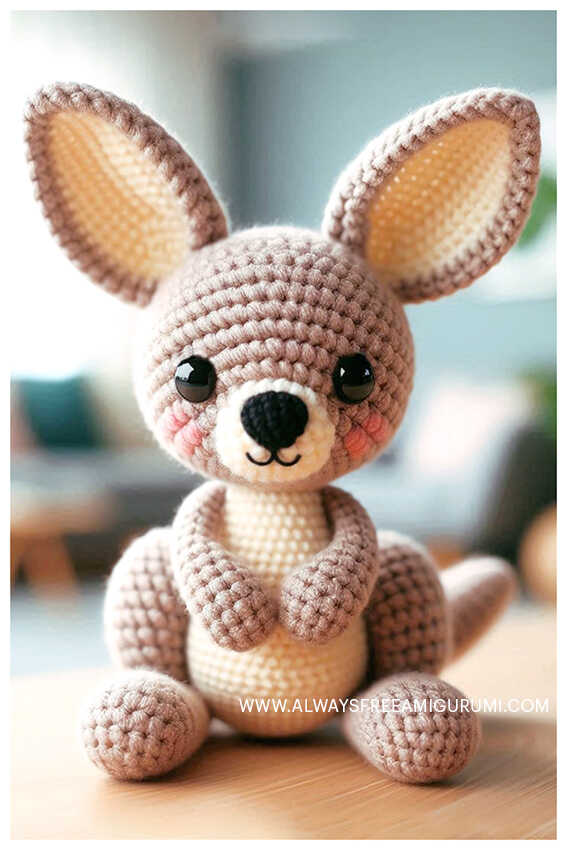
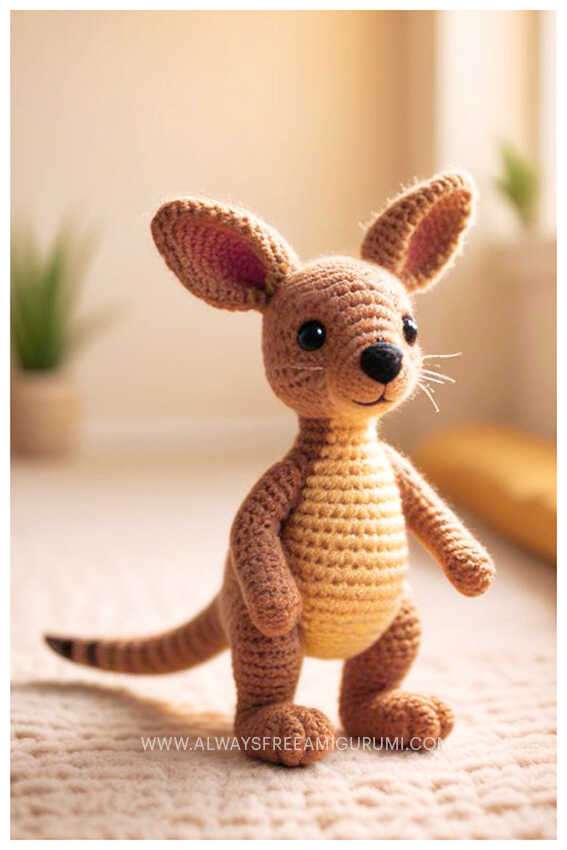
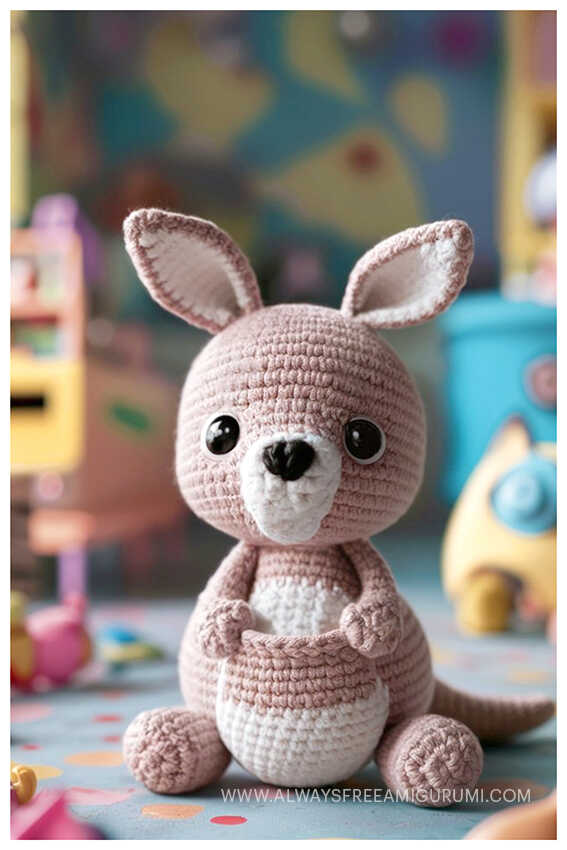
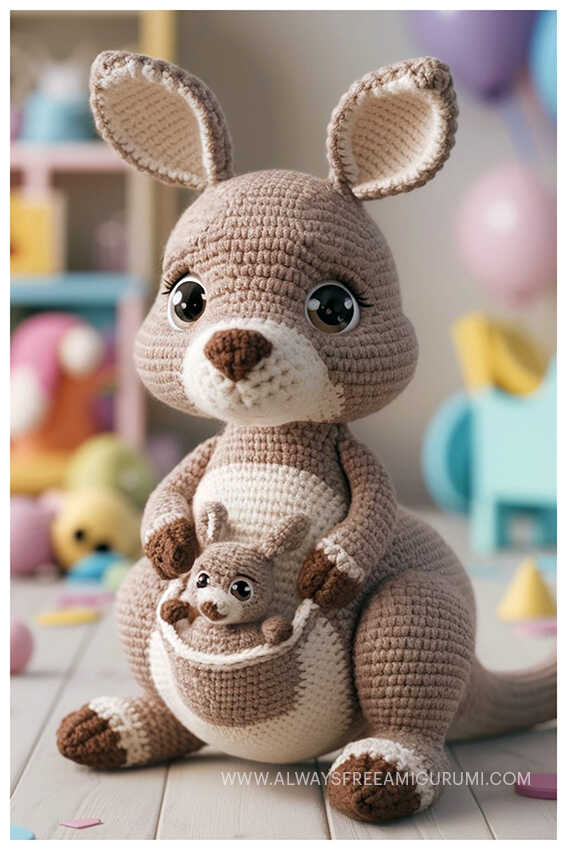
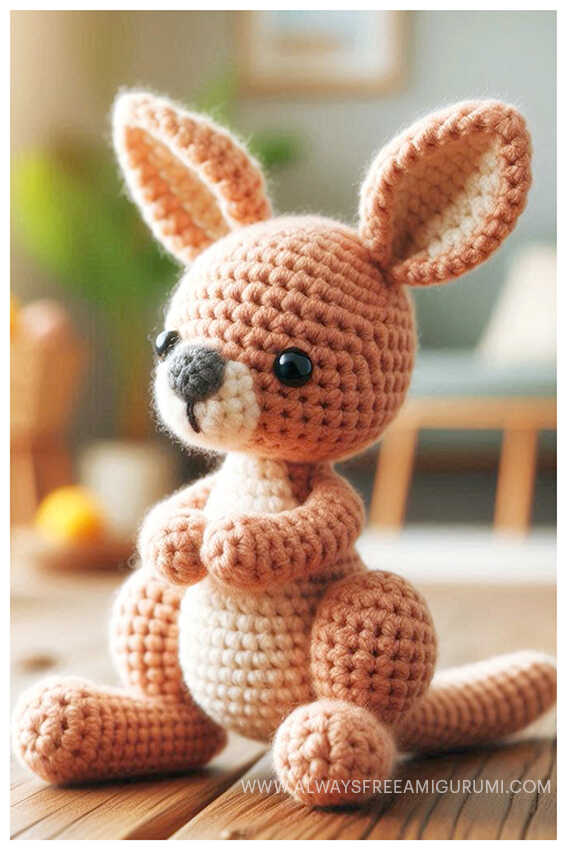
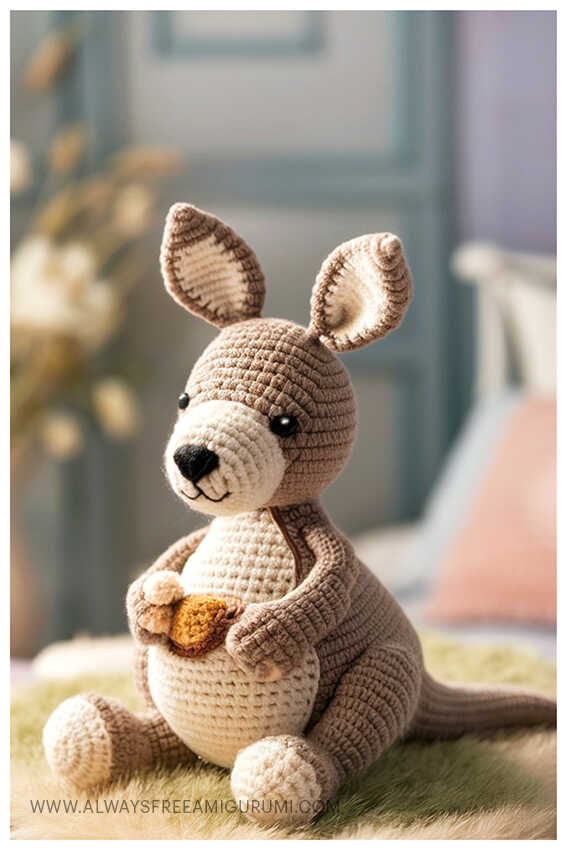
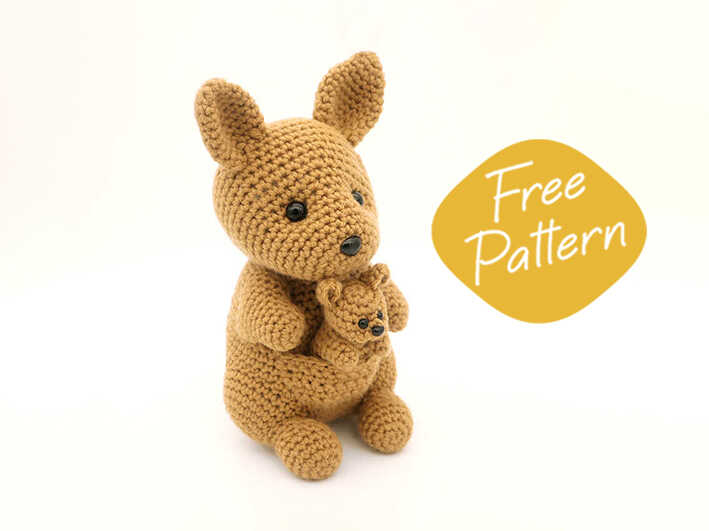
One of the free amigurumi crochet patterns we will share today is the amigurumi kangaroo, whose photos and design belong to StringyDingDing. You can learn how to crochet these kangaroo using the free amigurumi pattern. Thanks to StringyDingDing for this cute kangaroo family.
Amigurumi cats, amigurumi dolls, amigurumi dogs, amigurumi unicorns, amigurumi lambs, amigurumi dinosaurs, amigurumi foxes, amigurumi bears, amigurumi giraffes, amigurumi pigs, amigurumi birds, amigurumi penguins, amigurumi panda, amigurumi llama, amigurumi bunny, amigurumi clowns, amigurumi elephants, amigurumi hippos, amigurumi monkeys… All the amigurumi toys pattern step by step tutorials and ideas you are looking for are here…
Supplies:
• Yarn 4/Medium Weight in: Brown (I use Big Twist from JoAnn Fabrics)
• 4mm Crochet Hook
• Tapestry needle
• Scissors
• Stuffing
• 12mm safety eyes/nose for big kangaroo. 6mm safety eyes/nose for baby kangaroo
Additional Information:
• Difficulty: Easy, but lots of sewing.
• Size: 9 inches tall
This pattern is super easy to make, as uses only very basic stitches. However, there is a lot of sewing. You can find more detailed information at the designer’s web site. Let’s get started!
AMIGURUMI KANGAROO FREE PATTERN
Head:
In brown yarn
Round 1: 6 Sc into a Magic Ring (6)
Round 2: *Sc* all around (6)
Round 3: *Inc* all around (12)
Round 4: *Inc, Sc in the next st* all around (18)
Round 5: *Inc, Sc in the next 2 st* all around (24)
Round 6-7: *Sc* all around (24)
Round 8: *Inc, Sc in the next 3 st* all around (30)
Round 9-11: *Sc* all around (30)
Round 12: *Inc, Sc in the next 4 st* all around (36)
Round 13: *Sc* all around (36)
Round 14: *Inc, Sc in the next 5 st* all around (42)
Round 15: *Sc* all around (42)
Round 16: *Inc, Sc in the next 6 st* all around (48)
Round 17-22: *Sc* all around (48)
Round 23: *Dec, Sc in the next 6 st* all around (42)
Now we will place the safety eyes in. Add the safety eyes between Round 10 and 11, 7 stitches apart. Now add a safety nose in between Round 3 and 4. The safety nose should line up in the middle of the eyes.
Round 24: *Dec, Sc in the next 5 st* all around (36)
Round 25: *Dec, Sc in the next 4 st* all around (30)
Round 26: *Dec, Sc in the next 3 st* all around (24)
Round 27: *Dec, Sc in the next 2 st* all around (18)
Round 28: *Dec, Sc in the next st* all around (12)
Round 29: *Dec* all around (6)
Finish off, leaving a long tail for sewing. Sew the remaining stitches closed and weave in ends.
Ears: (Make 2)
In brown yarn
Round 1: 6 Sc into a Magic Ring (6)
Round 2: *Sc* all around (6)
Round 3: *Inc* all around (12)
Round 4-5: *Sc* all around (12)
Round 6: *Inc, Sc in the next st* all around (18)
Round 7-11: *Sc* all around (18)
Round 12: *Dec, Sc in the next st* all around (12)
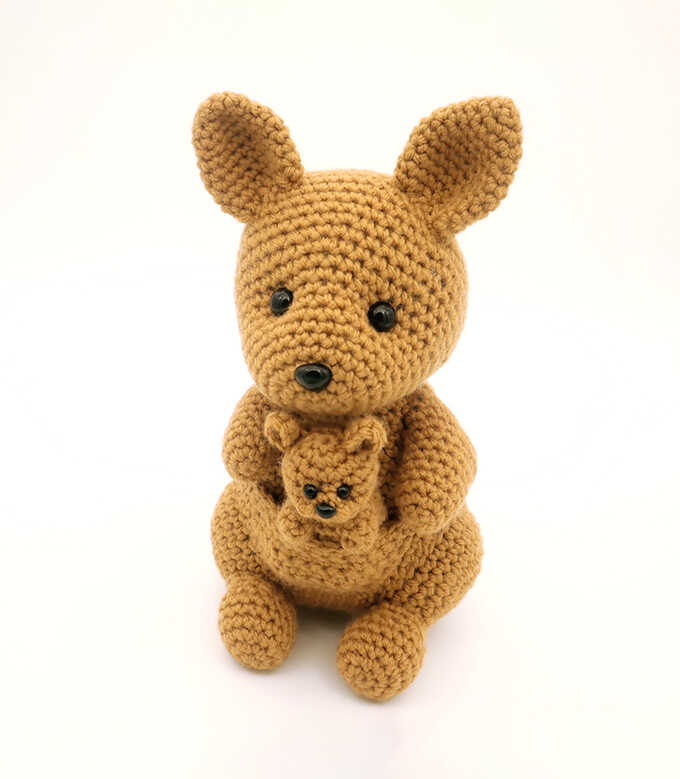
Finish off, leaving a long tail for sewing. Fold the bottom of the ear slightly together as shown. Pin the ears onto the head as shown and sew on. Once done, weave in ends and cut excess yarn.
Body:
In brown yarn
Round 1: 6 Sc into a Magic Ring (6)
Round 2: *Inc* all around (12)
Round 3: *Inc, Sc in the next st* all around (18)
Round 4: *Inc, Sc in the next 2 st* all around (24)
Round 5: *Inc, Sc in the next 3 st* all around (30)
Round 6: *Inc, Sc in the next 4 st* all around (36)
Round 7: *Inc, Sc in the next 5 st* all around (42)
Round 8: *Inc, Sc in the next 6 st* all around (48)
Round 9: *Inc, Sc in the next 7 st* all around (54)
Round 10-15: *Sc* all around (54)
Round 16: *Dec, Sc in the next 7 st* all around (48)
Round 17-19: *Sc* all around (48)
Round 20: *Dec, Sc in the next 6 st* all around (42)
Round 21-22: *Sc* all around (42)
Round 23: *Dec, Sc in the next 5 st* all around (36)
Round 24-25: *Sc* all around (36)
Round 26: *Dec, Sc in the next 4 st* all around (30)
Round 27-29: *Sc* all around (30)
Finish off, leaving a long tail for sewing. Pin the head onto the body as shown and sew on. Once done, weave in ends.
Arms: (Make 2)
In brown
Round 1: 6 Sc into a Magic Ring (6)
Round 2: *Sc* all around (6)
Round 3: *Inc* all around (12)
Round 4-8: *Sc* all around (12)
Round 9: *Inc, Sc in the next st* all around (18)
Round 10-13: *Sc* all around (18)
Finish off, leaving a long tail for sewing. Stuff the arm firmly now. Pin the arms onto the body as shown and sew on. Once done, weave in ends and cut excess yarn.
Legs: (Make 2)
In brown
Round 1: 6 Sc into a Magic Ring (6)
Round 2: *Inc* all around (12)
Round 3: *Inc, Sc* all around (18)
Round 4: *Inc, Sc in the next 2 st* all around (24)
Round 5: *Inc, Sc in the next 3 st* (24)
Round 6-8: *Sc* all around (24)
Finish off, leaving a long tail for sewing. Stuff the arm firmly now. Pin the arms onto the body as shown and sew on. Once done, weave in ends and cut excess yarn.
Feet: (Make 2)
In brown
Round 1: 6 Sc into a Magic Ring (6)
Round 2: *Inc* all around (12)
Round 3: *Inc, Sc in the next st* all around (18)
Round 4-6: *Sc* all around (18)
Round 7: *Dec, Sc in the next st* all around (12)
Round 8-9: *Sc* all around (12)
Finish off, leaving a long tail for sewing. Stuff the foot firmly now. Pin the foot onto the leg as shown and sew on. Once done, weave in ends and cut excess yarn.
Pouch:
In brown
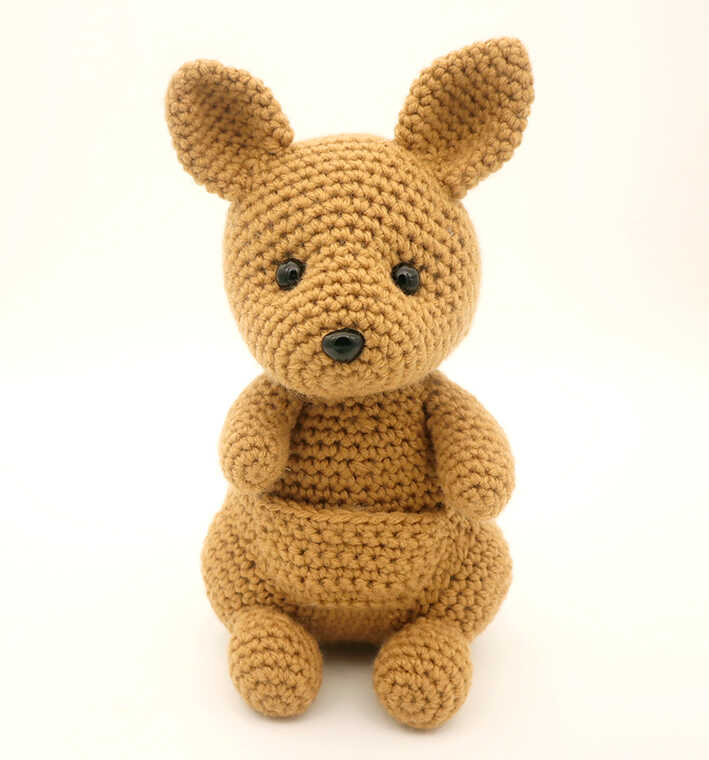
Row 1: Ch 9. Sc in the 2nd Ch from the hook. Sc into that same st, Sc in the next 6 st, Inc in the last st (10)
Row 2: Ch 1 and turn. Inc in the next st, Sc in the next 8 st, Inc in the last st (12)
Row 3-6: Ch 1 and turn. Sc in the next 12 st (12)
Finish off, leaving a long tail for sewing. Pin the pouch onto the belly of the toy as shown and sew on. Once done sewing on, tie a firm knot with this yarn, making sure the knot is close to the body. Bring this knot into the toy’s body to hide, then cut any excess yarn. The knot will help the pouch stay on better than simply weaving in the ends.
Tail:
In brown yarn
Round 1: 6 Sc into a Magic Ring (6)
Round 2: *Inc* all around (12)
Round 3: *Sc* all around (12)
Round 4: *Inc, Sc in the next st* all around (18)
Round 5-9: *Sc* all around (18)
Round 10: *Inc, Sc in the next 2 st* all around (24)
Round 11: *Sc* all around (24)
Round 12: *Inc, Sc in the next 3 st* all around (30)
Round 13: *Sc* all around (30)
Finish off, leaving a long tail for sewing. Pin the tail on as shown and sew on. Be sure to add stuffing before fully sewing on. Once done, weave in ends and cut any excess yarn.
Face Definition:
In brown yarn
Face definition can make the toy look cuter! The pictures show an eagle, but the steps are the exact same no matter which animal you try this technique out with.
Take a 12” piece of white yarn and place it on a needle. Insert the needle where shown (Pic 1). Pull needle out next to the right of the toy’s eye (Pic 2).

Reinsert needle to the left of the toy’s eye (Pic 3). Pull needle out where shown, about 1 stitch over from where we originally inserted the needle (Pic 4).
Reinsert needle 1 stitch over (Pic 5). Pull needle out at the right side of the left eye (Pic 6).

Reinsert needle at the left side of the left eye (Pic 7). Pull needle out at the same stitch where we originally inserted out needle (Pic 8).
Pull both ends of yarn firmly to tighten the toy’s face (Pic 9). Tie both ends of yarn together a few times to form a knot (Pic 10).
Bring the tail ends of yarn into the toy’s head to hide the knot (Pic 11-12). Cut excess yarn. Done!
Baby Kangaroo Body:
In brown
To make the baby, we will start at the top of the head and work our way down to the body in one continuous piece.
Round 1: 6 Sc into a Magic Ring (6)
Round 2: *Inc* all around (12)
Round 3: *Inc, Sc in the next st* all around (18)
Round 4: *Sc* all around (18)
Now we will mark where to place the eyes in Round 4. Add a different colored stitch marker into the 9th and 11th stitch in Round 4. We will place the safety eyes into those areas later. Round 5: Sc in the next 8 st, Inc in the next 3 st, Sc in the next 7 st (21) Now we will mark where to place the nose in Round 5. Add a different colored stitch marker into the 12th stitch made in Round 5. We will place the nose in that stitch later.
Round 6: Sc in the next 8 st, *Dec* 3 times, Sc in the next 7 st (18)
Round 7: Sc in the next 6 st, *Dec* 3 times, Sc in the next 6 st (15)
Add the safety eyes and safety nose in the the marked areas now.
Round 8: Sc in the next 6 st, *Dec* 3 times, Sc in the next 3 st (12)
Round 9-10: *Sc* all around (12)
Round 11: *Inc, Sc in the next st* all around (18)
Round 12-15: *Sc* all around (18)
Stuff the head and body here. Continue stuffing after each round.
Round 16: *Dec, Sc in the next st* all around (12)
Round 17: *Dec* all around (6)
Finish off, leaving a long tail for sewing. Sew the remaining stitches closed and weave in ends. Cut any excess yarn.
Baby Ears: (Make 2)
In brown
Round 1: 6 Sc into a Magic Ring (6)
Round 2: *Inc* in each of the next 4 st.
Finish off and leave a long tail for sewing. Fold the bottom of the ear in half as shown, then pin onto the head as shown. Sew the ears on. Once done, weave in ends and cut any excess yarn.
Baby Arms: (Make 2)
In brown
Round 1: 6 Sc into a Magic Ring (6)
Round 2-4: *Sc* all around (6)
Finish off, leaving a long tail for sewing. Stuff the arms, then pin onto the body as shown. Sew on and weave in ends, cutting any excess yarn.
Baby Legs: (Make 2)
In brown
Round 1: 6 Sc into a Magic Ring (6)
Round 2-4: *Sc* all around (6)
Finish off, leaving a long tail for sewing. Stuff the legs, then pin onto the body as shown. Sew on and weave in ends, cutting any excess yarn.
All done! Now just put the baby into the mom’s pouch and you’re all done.
More amigurumi kangaroo ideas:
