Hello…
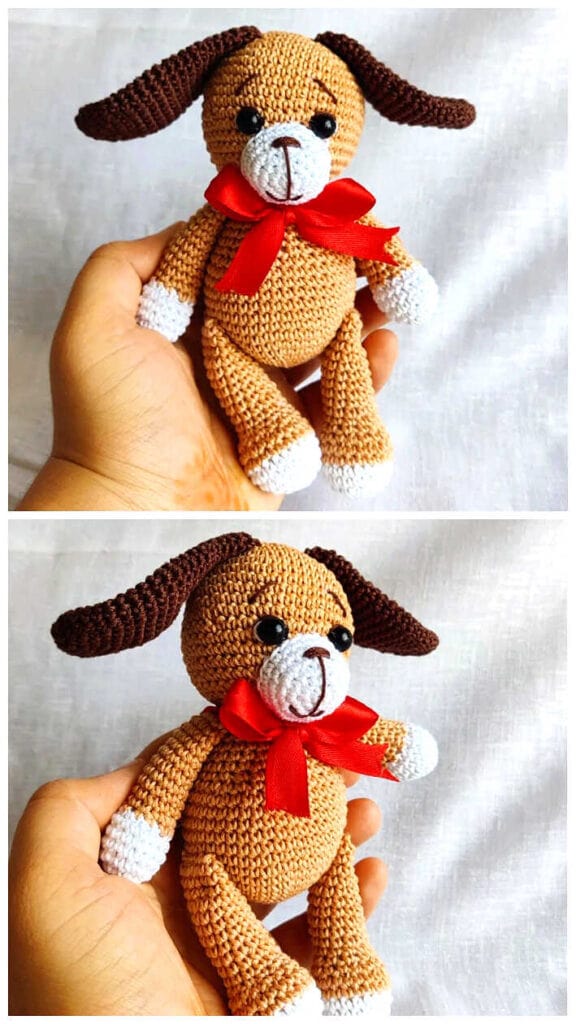
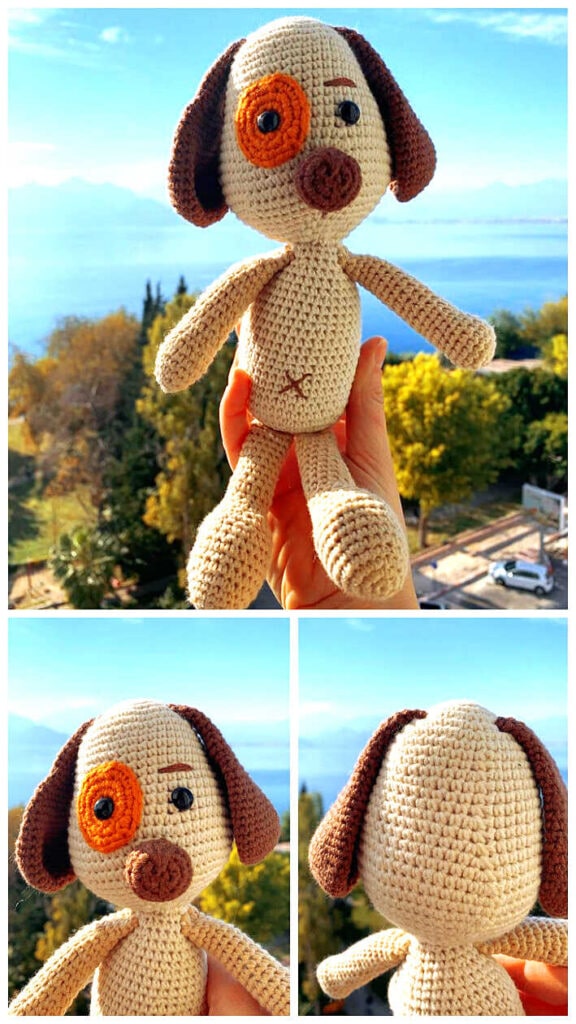
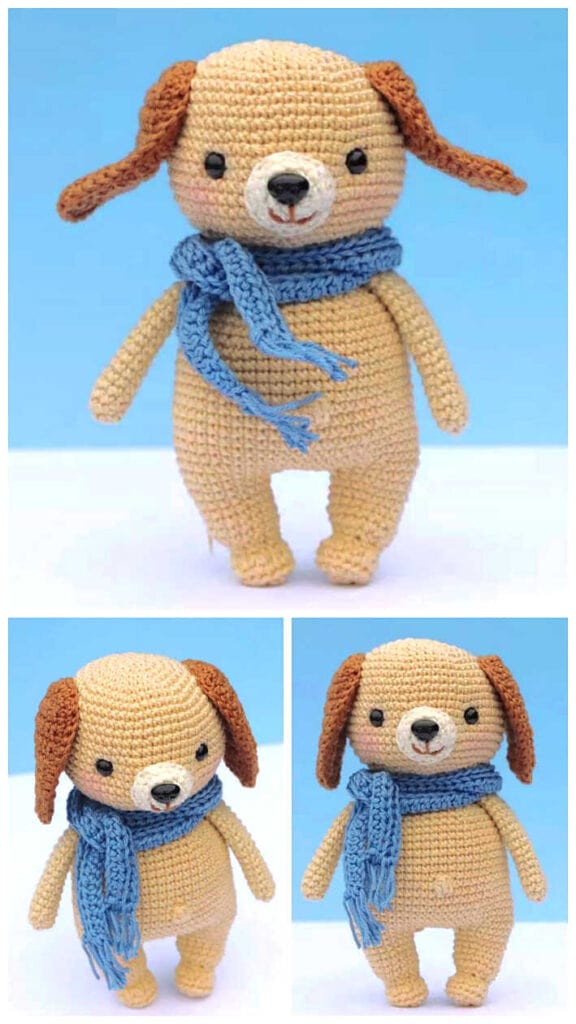
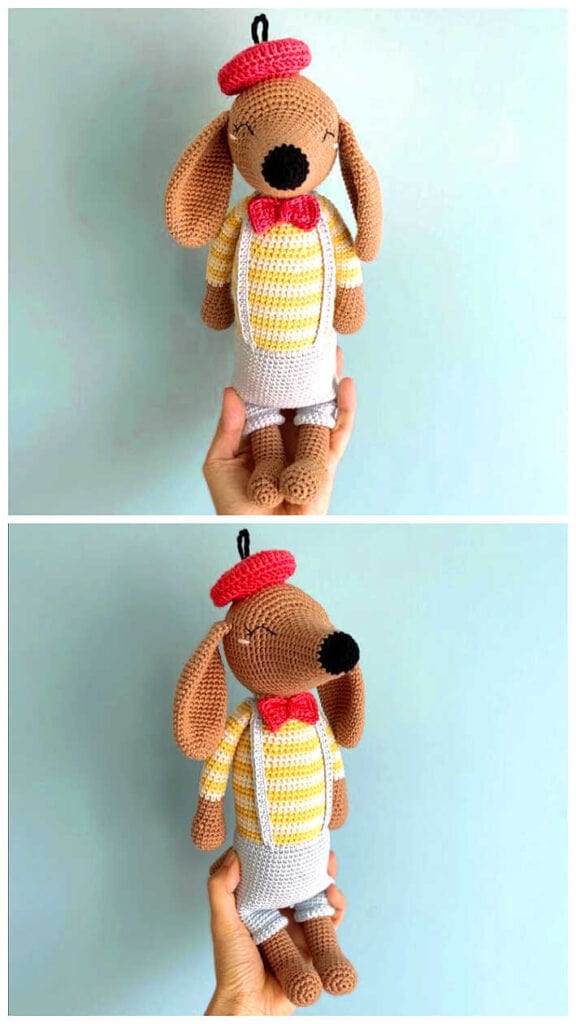
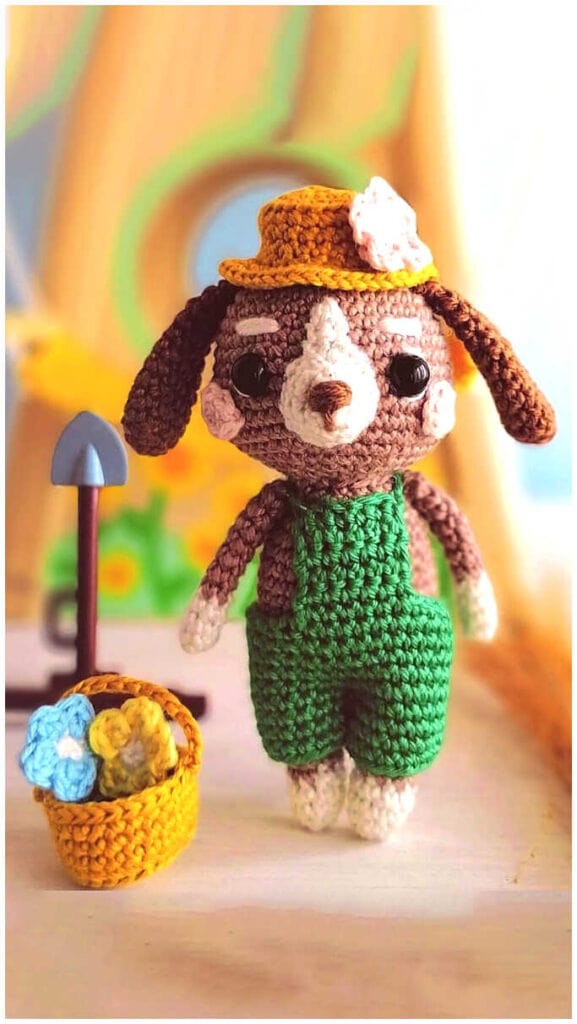
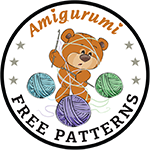
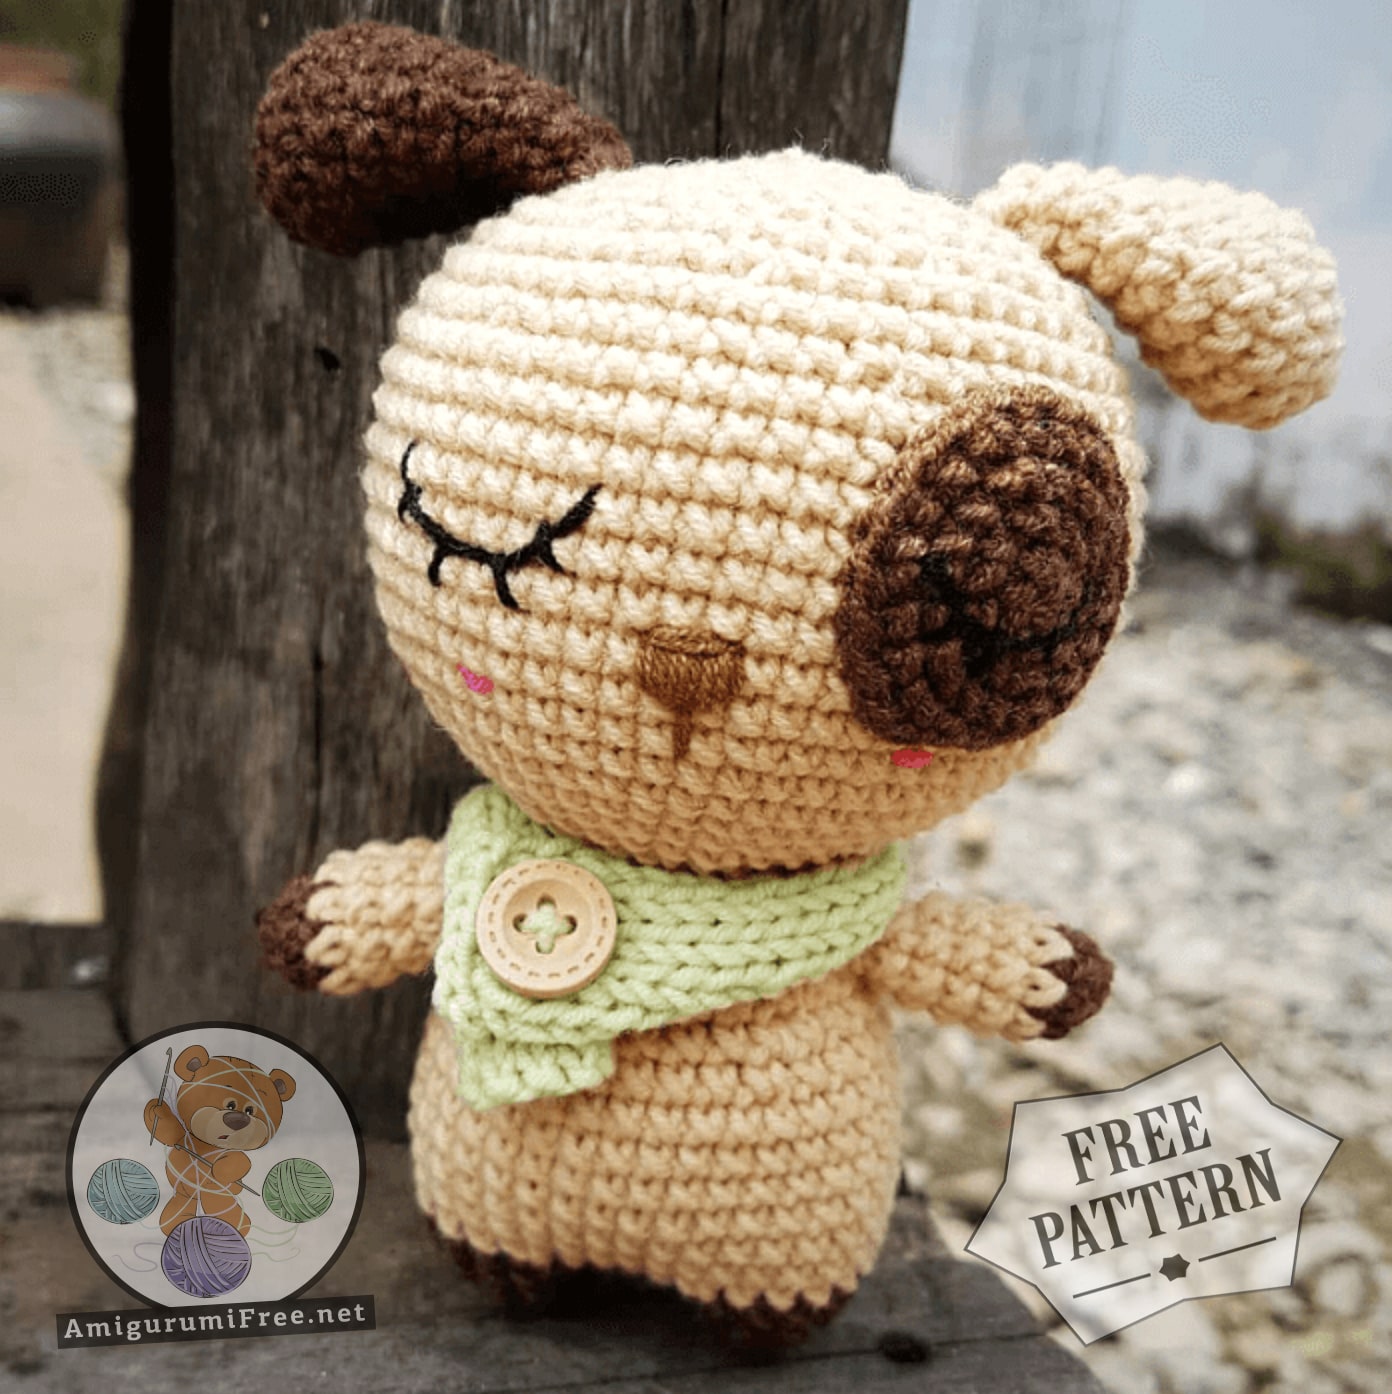
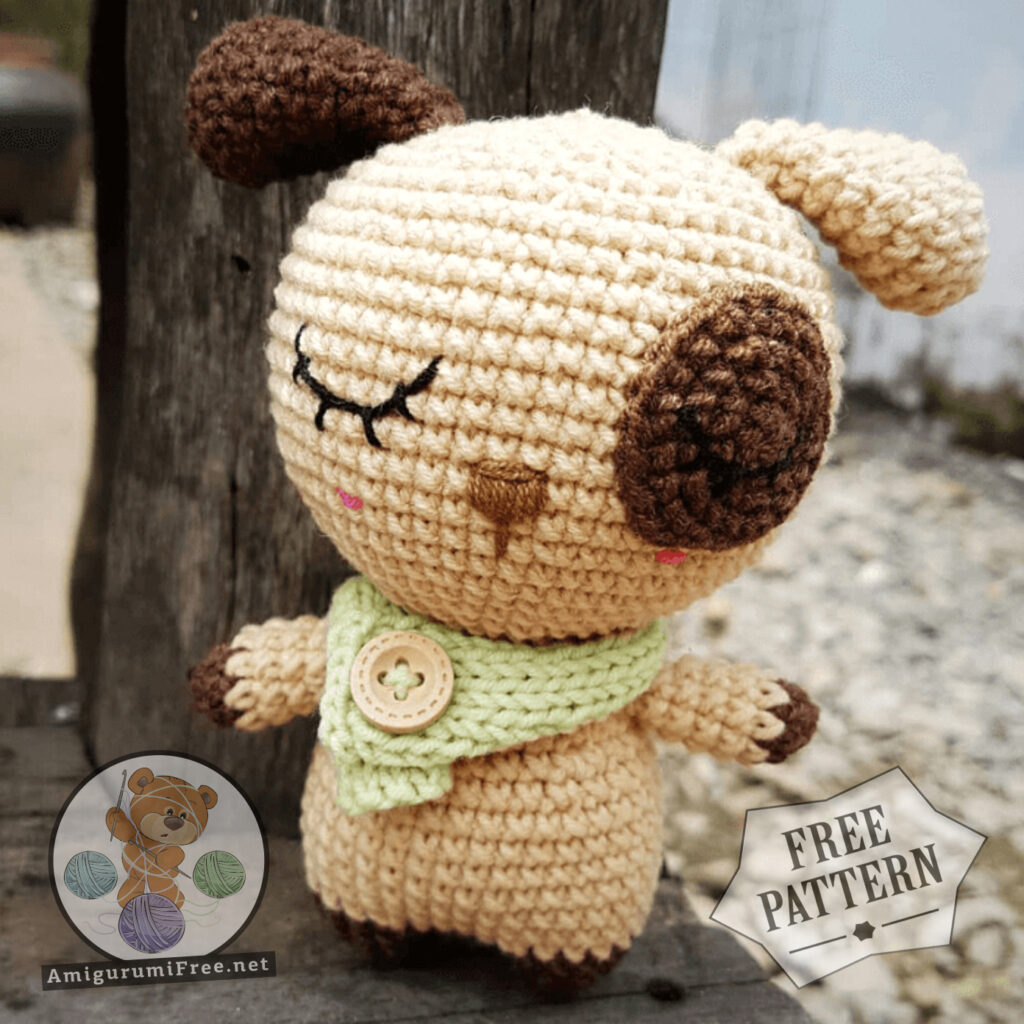
One of the amigurumi free crochet patterns we will share today is amigurumi dog designed by lenlenlenshop, photos by meongong.crochet… You can learn how to crochet these dog using the free amigurumi pattern. Thanks to lenlenlenshop for this cute dog.
If you don’t know how to often crochet and needles, read our shares. Start your knitting according to the rate you have according to the shape you will make. Shape your toy by increasing and decreasing the point. Once you weave the shape you want to fill the inside of your toy and look at the pictures to decorate.
Amigurumi cats, amigurumi dolls, amigurumi dogs, amigurumi unicorns, amigurumi lambs, amigurumi dinosaurs, amigurumi foxes, amigurumi bears, amigurumi giraffes, amigurumi pigs, amigurumi penguins, amigurumi panda, amigurumi llama, amigurumi bunny, amigurumi clowns, amigurumi elephants, amigurumi hippos, amigurumi monkeys will not be difficult for you…
Abbreviations
R: round
mr = magic ring
sc = single crochet
inc = increase (2 sc in the next stitch)
dec = decrease (join the next 2 stitches into 1)
sl st = slip stitch
st = stitch
ch = chain
dc = double crochet
tr = treble crochet
hdc = half double crochet
F.O = finish off
BLO = back loop only
FLO = front loop only
F.O = finish off
[] = number of stitches you should have at the end of the round/row
( x 6 = repeat whatever is between the brackets the number of times stated
Materials
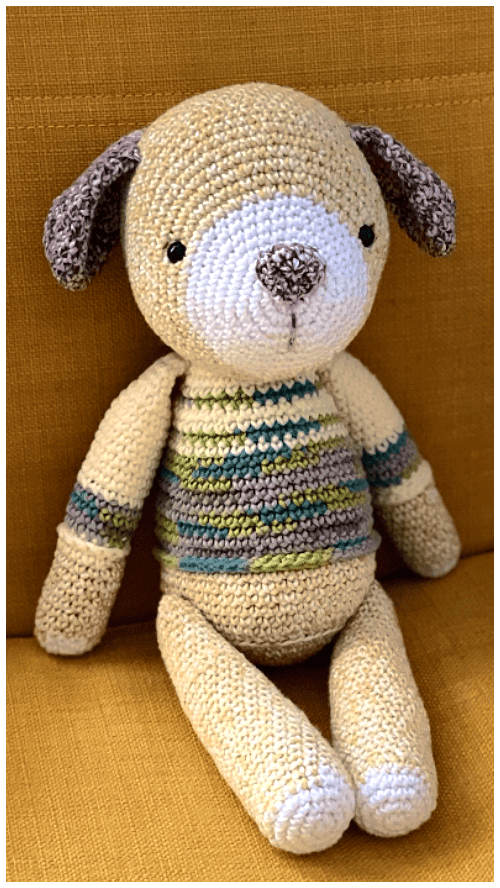
• Yarn: beige, brown and green color yarn
• Crochet hook
• Fiberfill for stuffing
• Sewing needle, scissors and button
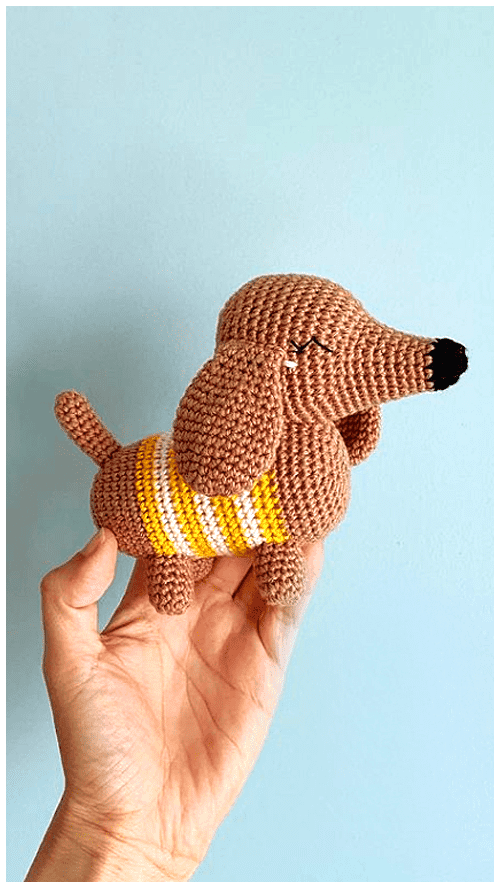
• To make this cute fat Dog you will start crochet from Leg. And from legs continue crochet body and head.
AMIGURUMI CUTE FAT DOG CROCHET FREE PATTERN
Legs (Make 2)
Leg 1
Start with brown color yarn
R 1: mr with 6 st [6]
R2: (1 sc, inc) x3 [9]
R3: (2 sc, inc) x 3 [12]
R 4: (3 sc, inc) x 3 [15]
Stuff with fiberfill. Cut yarn and hide the tail.
Leg 2
Make the other leg, don’t cut the yarn. Join leg 1 with sl st.
R 5: 15 sc (leg 1), 12 sc (leg 2) [30]
Continue to crochet the body using the stitches of both legs.
Body
Start with beige color yarn
R6: (4 sc, inc) x 6 [36]
R7-12: 36 sc (6 rounds) [36]
R 13: (4 sc, dec) x 6 [30]
R 14: 30 sc [30]
R 15: (3 sc, dec) x 6 [24]
R 16: 24 sc [24]
R 17: (2 sc, dec) x 6 [18]
R 18-21: 18 sc (4 rounds) [18]
Sl st. Stuff with fiberfill.
Cut the yarn, leaving a long tail for sewing.
Head
Start with beige color yarn (or any color yarn you like)
R 1: mr with 6 st [6]
R2: inc x 6 [12]
R 3: (1 sc, inc) x 6 [18]
R 4: (2 sc, inc) x 6 [24]
R 5: (3 sc, inc) x 6 [30]
R 6: (4 sc, inc) x 6 [36]
R7: (5 sc, inc) x 6 [42]
R 8: (6 sc, inc) x 6 [48]
R 9: (7 sc, inc) x 6 [54]
R 10: 54 sc [54]
R 11: (8 sc, inc) x 6 [60]
R 12-19: 60 sc (8 rounds) [60]
R 20: (8 sc, dec) x 6 [54]
R 21: 54 sc [54]
R 22: (7 sc, dec) x 6 [48]
R 23: (6 sc, dec) x 6 [42]
R 24: (5 sc, dec) x 6 [36]
R 25: (4 sc, dec) x 6 [30]
R 26: (3 sc, dec) x 6 [24]
R 27: (2 sc, dec) x 6 Sl st. [18]
Stuff with fiberfill.
Cut yarn and hide the tail.
Ears (make 2)
Start with brown color yarn
R 1: mr with 6 st [61
R2: inc x 6 [12]
R 3: (1 sc, inc) x 6 [18]
R 4: (2 sc, inc) x 6 [24]
R 5-7: 24 sc (3 rounds) [24]
R 8: (4 sc, dec) x 4 [20]
R 9: 20 SC [20]
R 10: ( 5sc, dec) x 4 [16]
R 11: 16 sc [16]
R 12: ( 6sc, dec) x 4 [12]
R 13: 12 sc [12]
Not to stuff with fiberfill. You fold top of ear flat and 6 sc through both sides across.
Cut the yarn, leaving a long tail for sewing.
Arms (make 2)
Start with brown (or beige) color yarn
R 1: mr with 6 st [6]
R 2: (1 sc, inc) x3 [9]
Change to beige color
R 3-7: 9 sc (5 rounds) [9]
Sl st. Stuff with some fiberfill.
Cut the yarn, leaving a long tail for sewing.
Eyes ( Make 1)
Start with brown color yarn
R 1: mr with 6 st [6]
R2: inc x 6 [12]
R 3: (1 sc, inc) x 6 [18]
R 4: (2 sc, inc) x 6 [24]
R 5: (3 sc, inc) x 6 [30]
Cute the yarn, leaving a long tail for sewing.
Tail
Start with beige color yarn
Make 6 chain (ch). Make 5 sc from second chain from hook,
Cut the yarn, leaving a long tail for sewing.
Assembly:
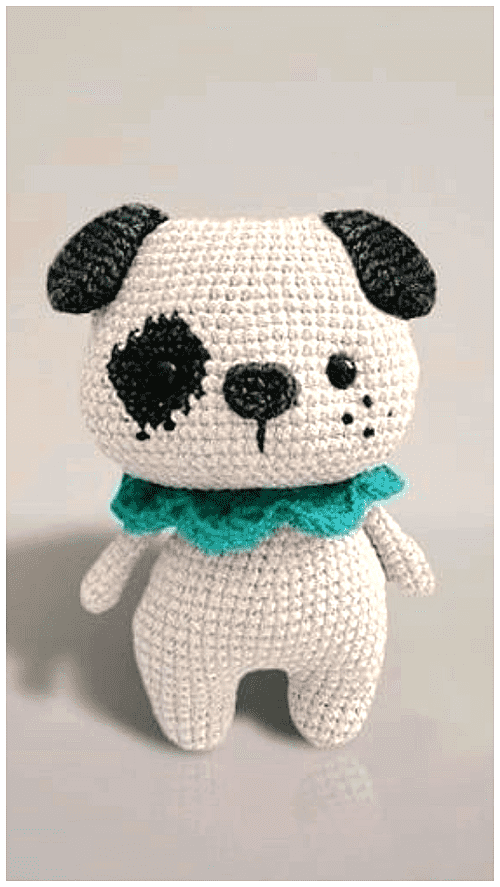
– Pin the brown eye to the head, then sew them on.
– Embroider a muzzle, a nose and brows on the head (like picture). The muzzle should be centered between the eyes.
– Pin the ears to the head, then sew them on.
– Pin the arms to the body, then sew them on.
– Sew the head to the body
– Sew the tail to the dog’s body.
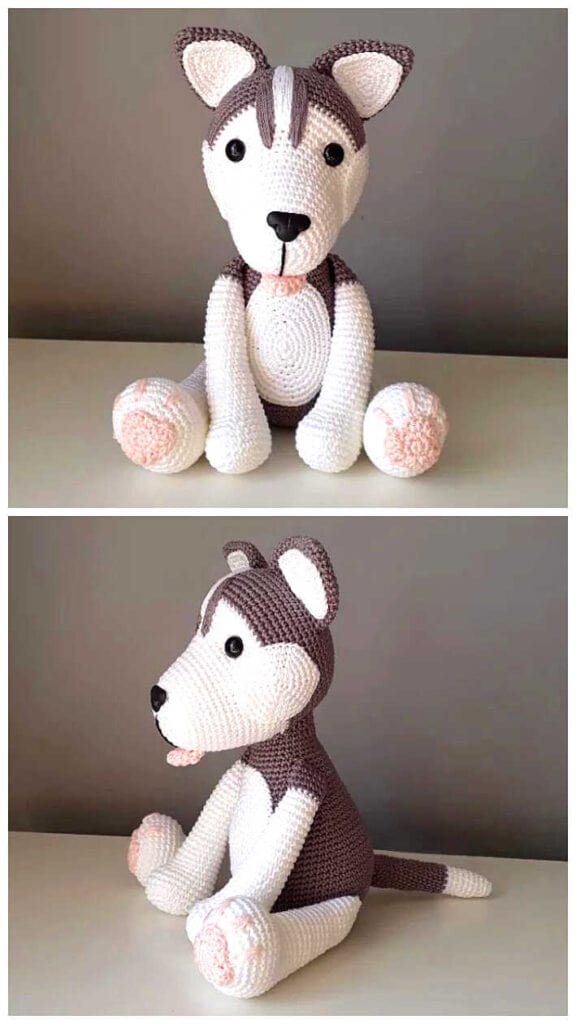
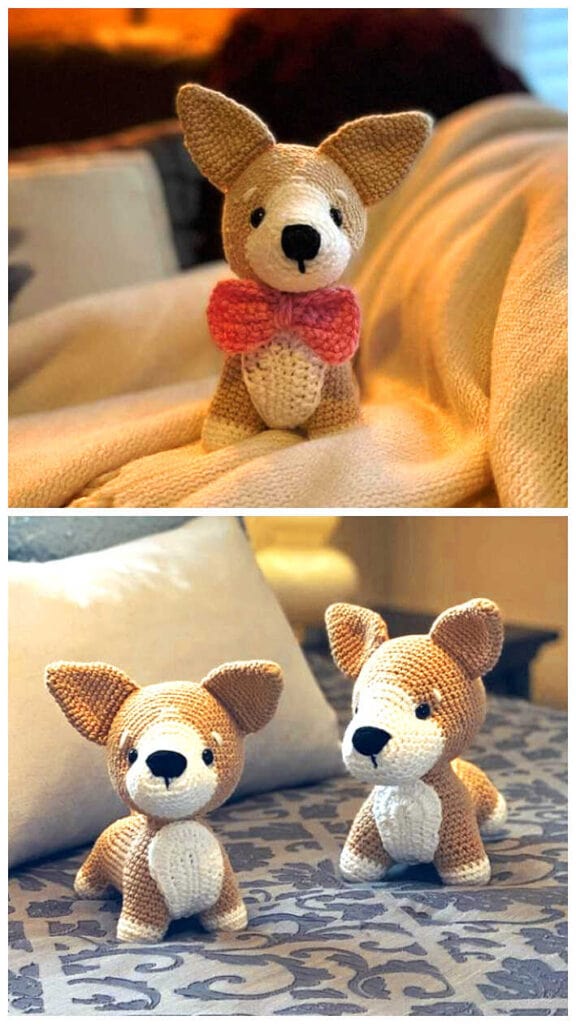
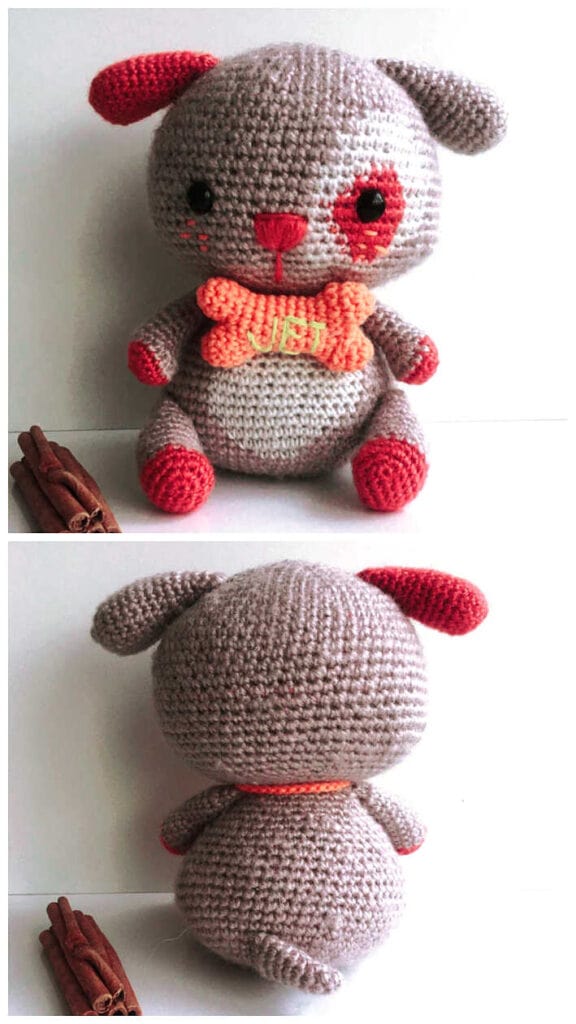
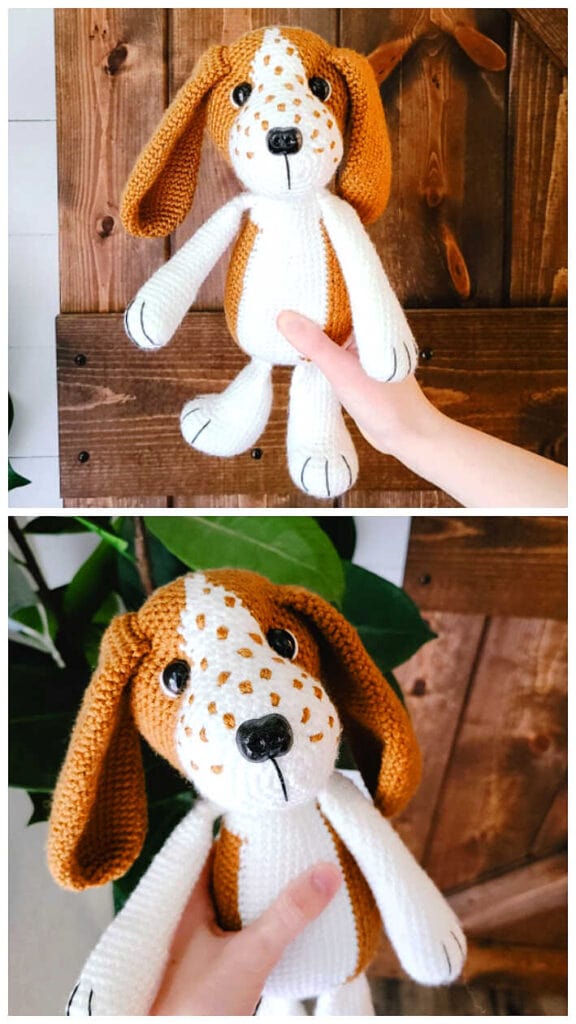
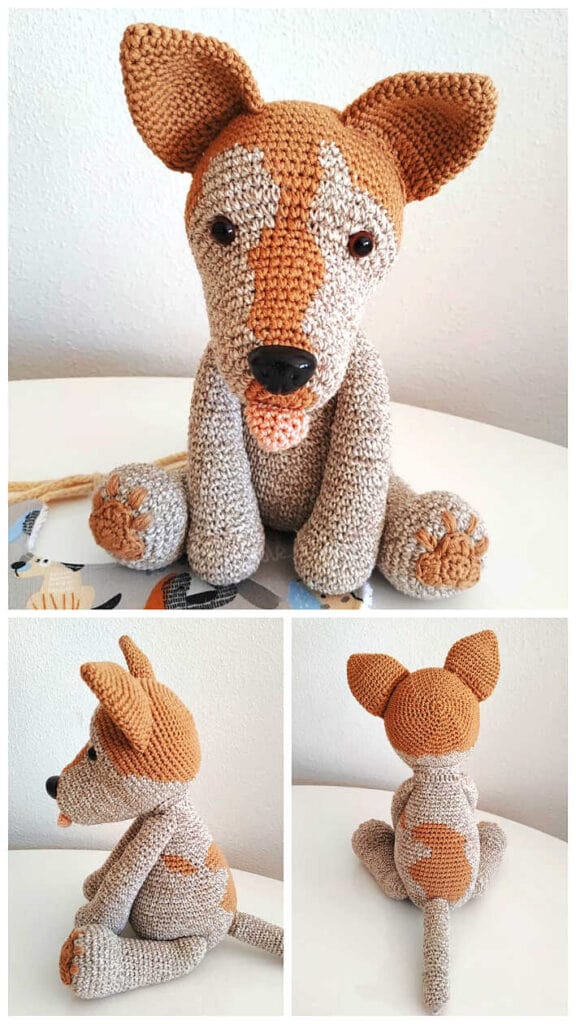
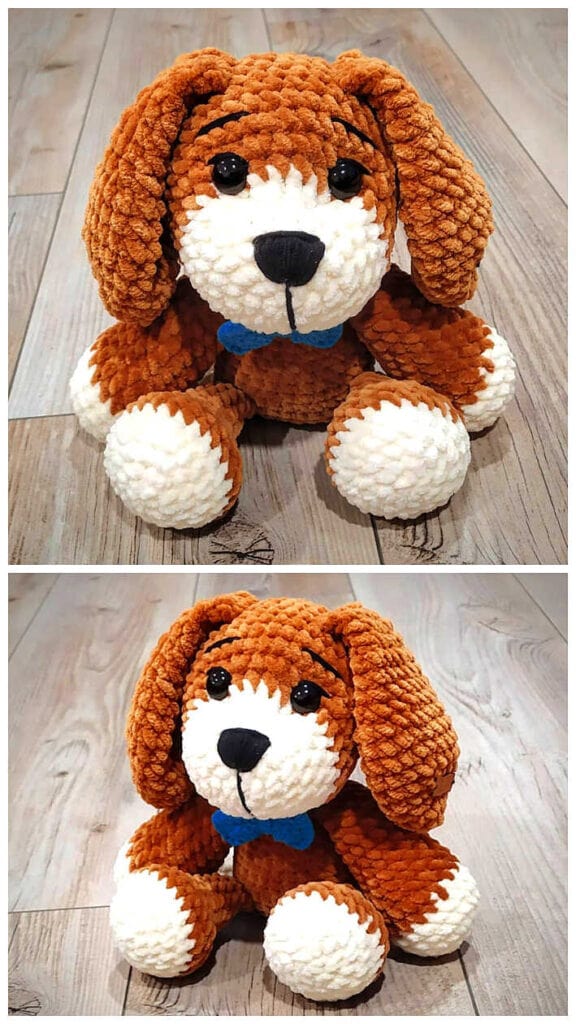
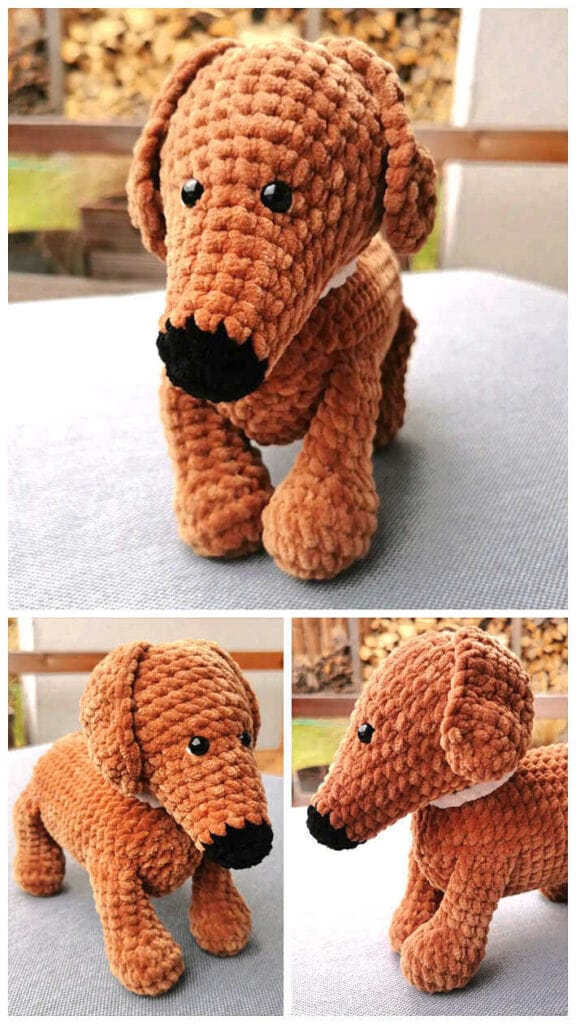
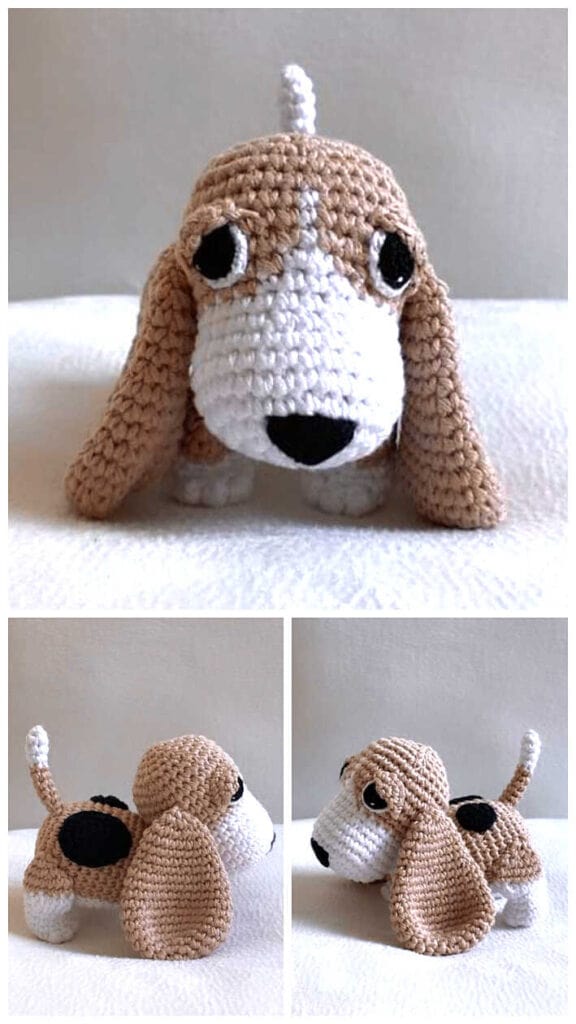
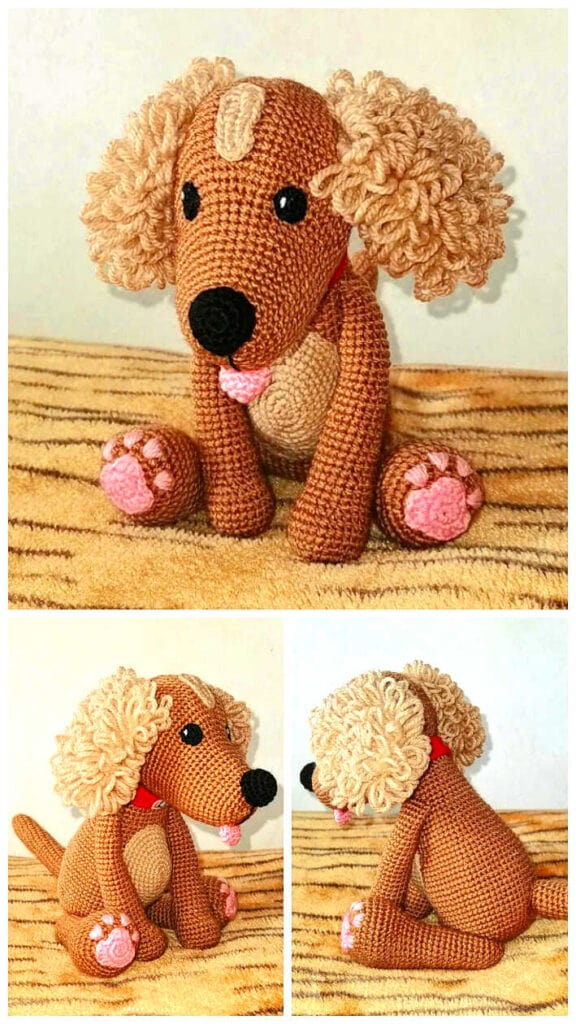
More amigurumi dog ideas: